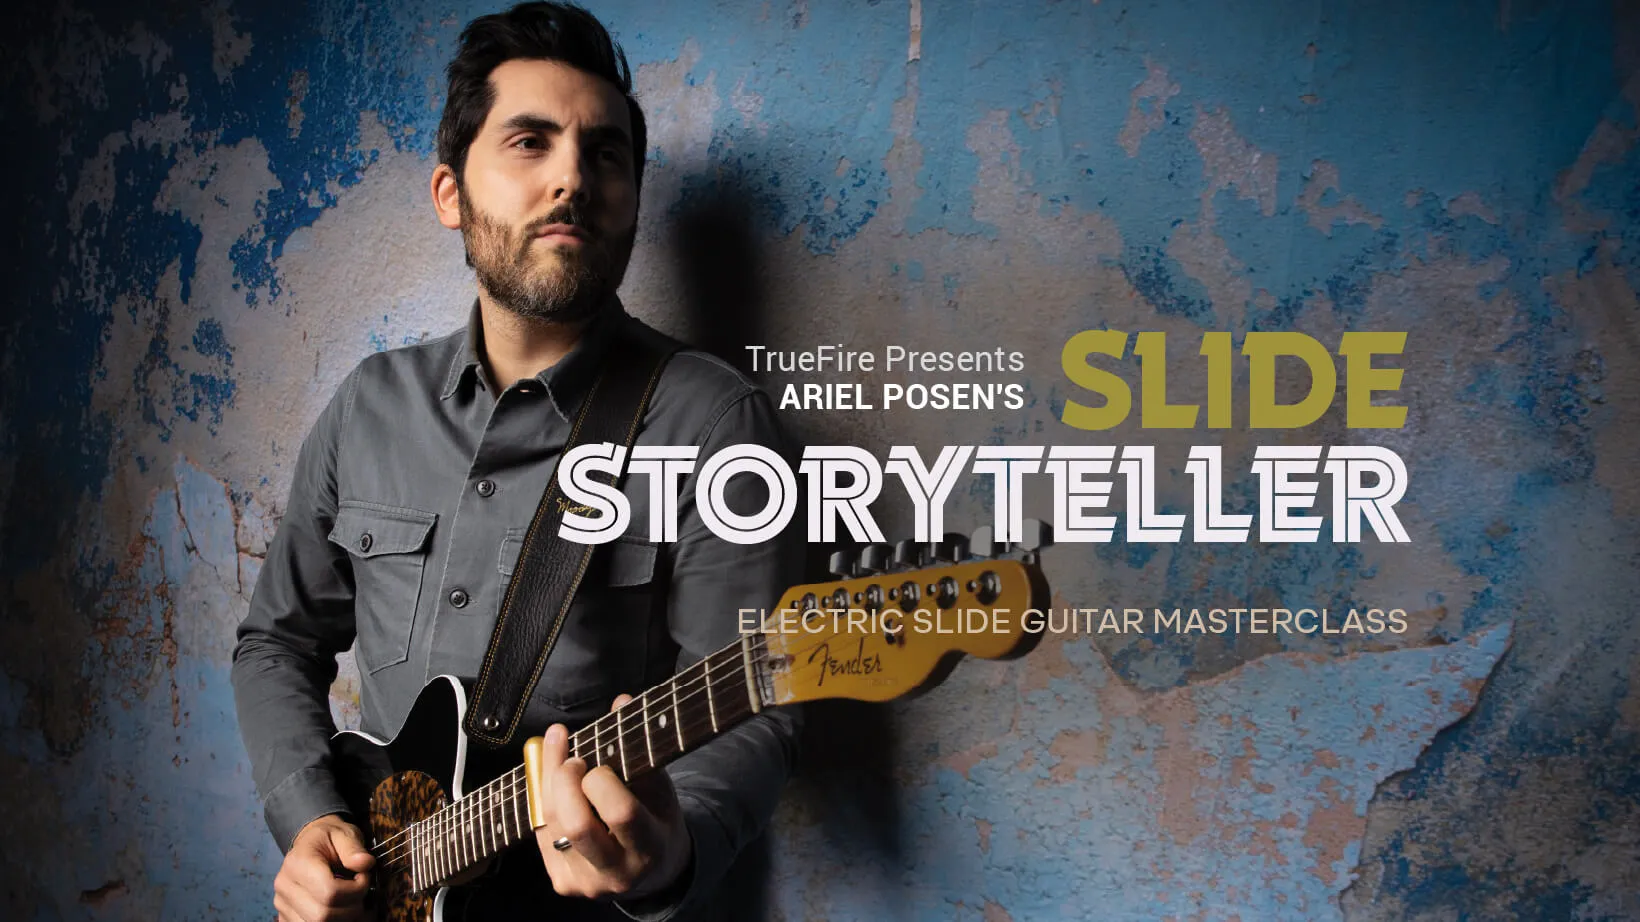
Memorable solos tell stories. And not unlike a great story, great solos have an arc that engages listeners with its opening, peak, and resolution. That’s why the textural, and vocal-like qualities of slide guitar will take your storytelling to a whole other level.
Ariel Posen’s Slide Storyteller is a slide masterclass for pros and practicing guitarists alike who are eager to heighten the expressive qualities of their solos and improvisations, in both standard and open tunings.
”Crafting a compelling solo is not just about scales, arpeggios, or technical skills on the fretboard. Of course, these are all important tools to master but a memorable solo moves the listener by telling a story.
The more expressive we can be with our playing, the better we’re able to bring out the essence of the story we’re sharing with our audience.
I’ll show you how to play “behind the slide”, emulate pedal steel, incorporate drones, combine bass notes, and many of the other creative approaches and expressive techniques that I use frequently when soloing.”
In Ariel Posen’s Slide Storyteller: Essential Slide Guitar Primer, Expressive Left & Right Hand Techniques, Playing Single Notes "Behind the Slide,” Playing Chords “Behind the Slide,” Open Tunings, Playing Slide in Open and Standard Tunings, Incorporating Drone Notes, Pedal Steel Sounds, and Combining Bass Notes
Ariel will demonstrate and explain all of the key concepts and techniques. You’ll practice everything with Ariel onscreen and then play your way through a series of soloing performance studies for real-world musical context.
Slide Soloing Performance Studies: Dominant Slidin' in A: Standard, Heavy Slide Vibes in B: Standard, Southern Jam: Open E, Key of G Pedalin': Open E, Smooth, Sweet Intoxication, Open Air Jam in A, Holdin’ Down the Bass, Behind the Line in E, Textures of E
Practice and play your way through Slide Storyteller and you’ll be pulling out your slide at gigs and jams in no time at all!
You’ll have all of TrueFire’s advanced learning tools at your finger tips to personalize your workspace and learn at your own pace.
You can loop, slow down, or speed up any section of a lesson. Plus, all of the tab and notation is synced to the videos for the optimal learning experience. You’ll also get tab and standard notation files to print out, Guitar Pro files, and all of the backing tracks to practice with.
Grab your guitar, and let’s dig deep with Ariel Posen!
What you'll learn
Play first position pentatonic patterns behind the slide
Use tone knob manipulation for textural variation
Incorporate diminished arpeggios into slide playing
Mix major and minor tonalities in slide solos
Incorporate skip string diads for simple harmonic emotion
Hey, it’s Ariel Posen here. Memorable solos tell stories. And not unlike great stories, every great solo has an arc that engages listeners with an opening, a peak, and a resolution. The more expressive we can be with our playing, the more we are able to bring out the essence of our story. That’s why the textural, and vocal-like qualities of slide guitar take our playing to a whole other level. In Slide Storyteller, you’ll learn how to play slide in open and standard tunings, play notes and chords behind the slide, and we’ll look at many other creative approaches to make you sound as expressive as possible. All of the tabs are synced to the video and we’ll work with backing tracks for musical context. You can also slow down or loop any section of the video lessons to learn at your own pace. If you’re ready, let’s jump into it.
In this course, we will delve into the captivating world of slide guitar playing. Our focus will be on mastering the essential elements that contribute to a seamless and expressive slide guitar technique. First and foremost, we will embark on a quest to find the perfect slide that fits your finger like a glove. I will guide you through the process of trying out various slides to determine the ideal fit for you, regardless of the brand or model. It's crucial to find a slide that feels so natural on your finger that you hardly even notice it's there. Next, we will explore the setup of your guitar for optimal slide playing. I'll encourage you to dedicate a guitar with slightly higher action and consider using heavier gauge strings, such as elevens, to strike a balance between comfortable slide playing and the ability to still play with your fingers. It's a delicate equilibrium that will enhance your overall slide guitar experience. Throughout the lesson, we will pay special attention to two vital aspects: intonation and vibrato. I will emphasize the importance of playing in tune, whether you're playing with or without a slide. Trusting your ears rather than your eyes, we will tune our instruments by closely listening for the right pitch. Moreover, I will reveal the secret sweet spot on the fretboard where the slide truly shines, resulting in pitch-perfect notes. By the end of this lesson, you will have acquired the fundamental skills needed for successful slide guitar playing. You will have found your ideal slide, optimized your guitar setup, and developed a keen sense of intonation and vibrato. Get ready to unlock the captivating world of slide guitar and express yourself in ways you never thought possible.
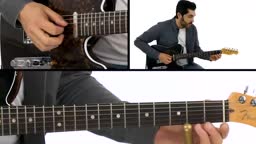
In this lesson, we will explore the concept of "playing behind the slide" on a slide guitar. This advanced technique combines playing with the slide and using fingers behind the slide, creating a hybrid approach that enables more varied chords and melodies, with a sound evocative of pedal steel or harp. The technique essentially transforms non-slide applications into slide-playable ones, broadening the range of musical expression. While it is not the only way to play advanced slide, it is a powerful method that I use frequently. The application of this technique will be demonstrated through an example in the key of E, where we will explore the different sounds produced when playing G sharp to F sharp using fingers only, a slide, and then both together for a two-note one-three voicing.
In this lesson, we will be focusing on a specific musical track with chord changes that mostly cycle between E, D, and A, and occasionally shift to F sharp minor every eight bars. The exercise you should practice is centered on producing 'tied together' notes. Don't worry if it sounds somewhat repetitive or if you're playing the same thing over and over - the goal here is consistent practice and comfort with the technique. While you can choose to stay in the key of E without targeting other chords, I will provide examples on different chords for a varied understanding. The aim of this lesson is to keep it simple and focus primarily on mastering this exercise. Let's dive into it.
In this lesson, we will be focusing on a specific musical track with chord changes that mostly cycle between E, D, and A, and occasionally shift to F sharp minor every eight bars. The exercise you should practice is centered on producing 'tied together' notes. Don't worry if it sounds somewhat repetitive or if you're playing the same thing over and over - the goal here is consistent practice and comfort with the technique. While you can choose to stay in the key of E without targeting other chords, I will provide examples on different chords for a varied understanding. The aim of this lesson is to keep it simple and focus primarily on mastering this exercise. Let's dive into it.
In this lesson, you will delve into the simple yet effective exercise of the 'behind the slide' technique on a guitar. We will be exploring this technique on different chords, and emphasizing diverse single-note lines. For instance, on the E chord, we will demonstrate a progression from the third to the fifth note using the slide and a diagonal slide motion. We will also illustrate how to incorporate variations, such as emphasizing the four chord or transitioning from the four chord to the one using both behind-the-slide and open string techniques. You will discover a wealth of possibilities that this technique unlocks, all waiting to be explored and honed. By the end of the lesson, you will have a good starting point for mastering this new fingering technique. Although mastering it will take time, with persistence and regular self-recording, your proficiency in this technique will inevitably improve.
In this lesson, you will learn how to extend the 'behind the slide' technique to play chords on the guitar. We will apply the same approach we used for single-note lines, but now with an emphasis on more notes. As you apply this technique to chords, you will notice some intriguing differences, such as playing a standard first inversion or root position triad with the slide. During the lesson, you will observe how the slide is positioned on the D-string while the G-string and B-string are played with fingers, raised diagonally. This method produces a unique sound as if all the notes are being slid. We will use the same track as before and focus on practicing A position chords and a transition from F sharp to G sharp, just like our very first example.