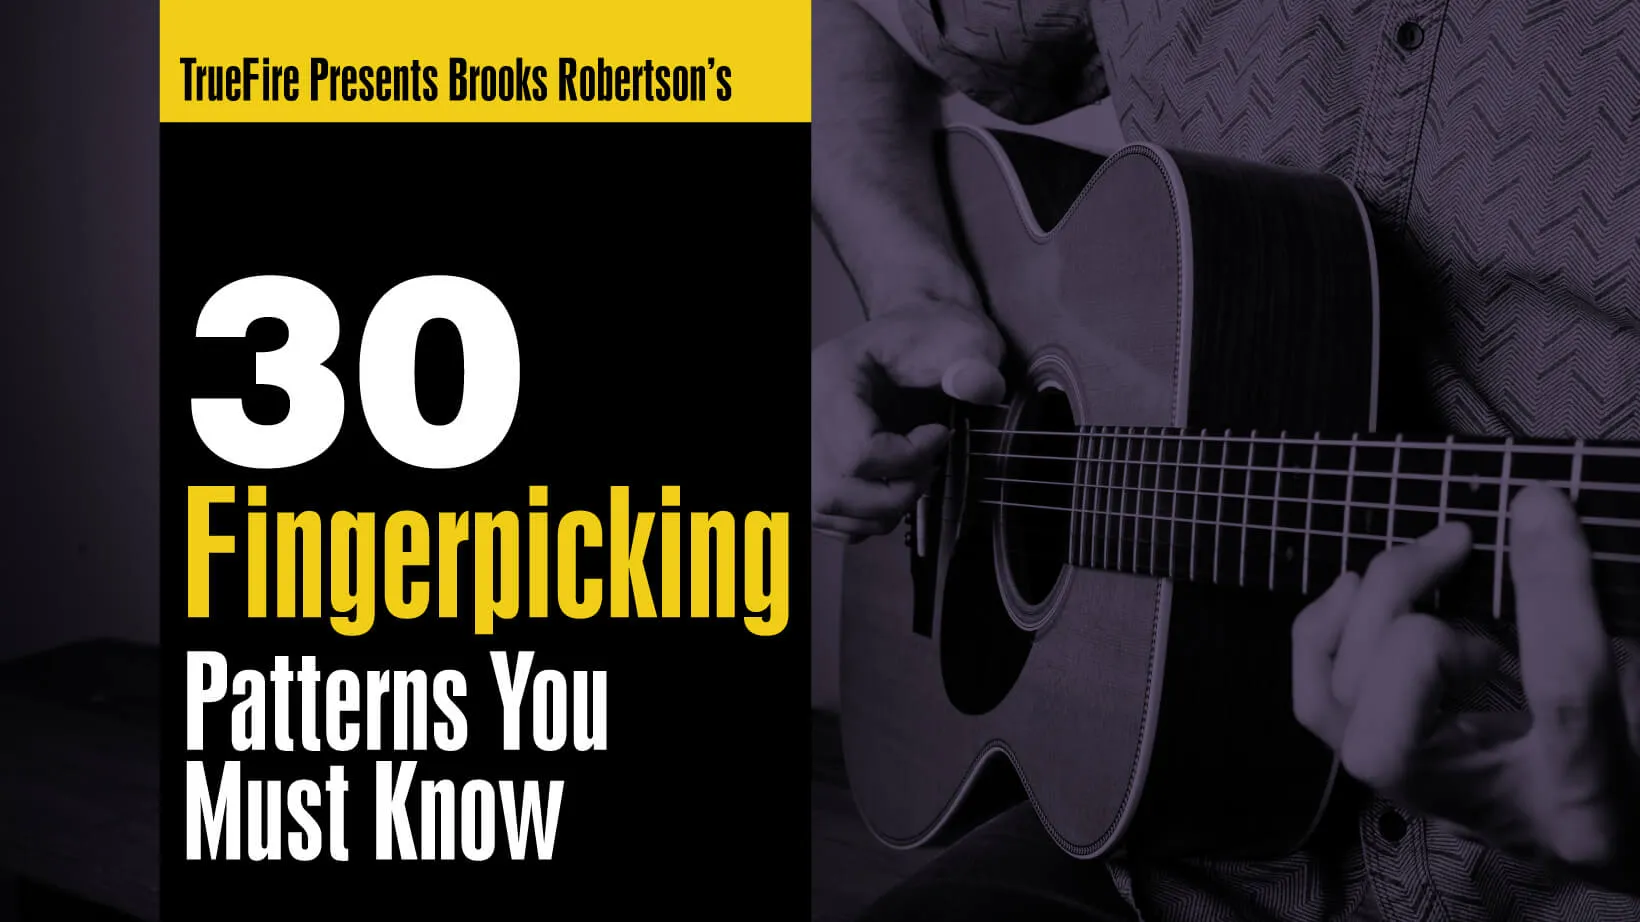

30 Fingerpicking Patterns You MUST Know

Rhythmic Tools to Support the Harmony & Melody of Fingerstyle Guitar Songs

Marty FriedmanTommy EmmanuelSteve VaiEric GalesEric Johnson

Get this course and 1,000+ more with All Access

Try 14 days free. Cancel any time.

Purchase Individual Course for $14.99
30 Fingerpicking Patterns You MUST Know

About this course

Most guitar players know at least a couple of fingerpicking patterns such as a simple Travis picking pattern or maybe just arpeggiating the chords with their fingers. Fingerstyle players tend to have more fingerpicking patterns at their disposal to use as rhythmic tools supporting the harmony and melody of the tune they’re playing.

This collection of 30 versatile fingerpicking patterns from Brooks Robertson will significantly expand your vocabulary of patterns to provide you with a much wider range of creative options for accompaniment, arrangements, and composing your own original songs. Learning these patterns is also your gateway to developing the various techniques necessary to play fingerstyle guitar across all styles.

Brooks shows you picking patterns innovated by many legends of fingerstyle guitar such as Chet Atkins, Jerry Reed, Tommy Emmanuel, Buster B. Jones, Marcel Dadi, and many more.

”I’ll show you 6 picking patterns in the Boom-Chick alternating bass style - they’re great for country, folk, Americana, and blues. Then we’ll dive into 9 Jerry Reed style patterns, which work with a wide range of musical styles. Next, you’ll pick up on 5 Banjo roll picking patterns, which can be used in a multitude of applications. We’ll wind up with a stylistic mixture of 10 patterns ranging from fingernail clicking, Bossa Nova style patterns, folk patterns, and simple waltz patterns.”

Brooks will explain and demonstrate all of the key concepts and techniques along the way. You’ll get standard notation and tabs for all of the fingerpicking patterns. Plus, you’ll be able to use TrueFire’s learning tool to sync the tab and notation to the video and can also loop or slow down the videos so that you can work with the lessons at your own pace.

Grab your guitar and let’s get pickin’ with Brooks Robertson!

What you'll learn

  • Execute eighth note fingerpicking patterns with string skipping
  • Apply 10 stylistic mixture patterns including fingernail clicking, bossa nova, folk, and waltz
  • Learn 6 Boom Chick Alternating Bass patterns
  • Develop independent control of thumb, index, middle, and ring fingers
  • Build foundation for fingerstyle guitar playing
Release date: 10/03/2019 • 3h 02m runtime
Start Course
Sample lessons
Double Pinch
Double Pinch
Pattern 2
Green Thumb
Green Thumb
Pattern 6
Clawin'
Clawin'
Pattern 14
Swiss Army Roll: 5 Strings
Pattern 20

What's included

32 lessons • 30 charts

30 Fingerpicking Patterns
Hi, I'm Brooks Robertson. Welcome to 30 Fingerpicking Patterns You MUST Know.

Fingerstyle guitar is a method of playing that requires fluency across various techniques with both the fretting and especially the picking hand. It demands dexterity, coordination, and control with the picking hand, ultimately allowing the player to simultaneously perform bass, chords, and melody in a variety of rhythms and styles. One of best and most effective ways of developing good picking technique is through learning and practicing picking patterns. Picking patterns are not only good for refining tone, dynamics, finger independence, accuracy, and speed but also serve as great platforms for accompaniment, and can be used as rhythmic foundations for melody and songs.

This course explores picking patterns used by many giants of fingerstyle guitar: Chet Atkins, Jerry Reed, Tommy Emmanuel, Buster B. Jones, Marcel Dadi, Joao Gilberto, and more. First we'll look at 6 picking patterns in the boom-chick alternating bass style - great for country, folk, Americana, blues, and more. Next up, we'll get more intricate with syncopation and finger pairing as we dive into 9 Jerry Reed-style patterns. We'll also cover 6 banjo roll picking patterns which can be used in a multitude of applications. Lastly, we'll explore a stylistic mixture of 10 patterns ranging from fingernail clicking and bossa nova-style patterns to folk and simple waltz patterns.

If you want to improve your fingerstyle technique and add to your repertoire of picking patterns, this course is one you must dig into! To get the most out of this course, it's very important to spend time memorizing and refining the picking patterns, then experiment, try applying them in your own creative ways to additional chords, progressions, and songs, beyond the simple examples shown here in the performances. The big picture idea is to develop a vocabulary of picking patterns that you can use in a variety of ways and situations.

Grab your guitar, and let's get started!
Single Pinch
The key to many fingerstyle accompaniment patterns as well as solo tunes is the ability to keep the thumb alternating, playing steady quarter notes on the bottom three bass strings while the fingers simultaneously play either chord tones or a melody on the top three treble strings. This "Single Pinch" pattern uses the fingers to play together with the thumb (i.e. pinch) on beat one. Notice there is no syncopation in this pattern. You should also practice a few extra single pinch patterns on your own by placing the pinch on either beat 2, beat 3, or beat 4. Be sure your thumb is always playing on every beat which means is does not stop and that it is performing the correct alternating pattern. Be sure as well to put in some extra work with the 4th string root pattern, for example as we did here on D7, where the entire picking hand shifts up a string thus excluding the low 6th string and the ring finger. Remember these patterns will work over any chord progression so experiment with what this pattern sounds like over different chord changes.
Double Pinch
"Double Pinch" is a great accompaniment pattern and skill builder to develop more thumb independence. For this pattern, we keep the thumb playing steady quarter notes (always starting the alternating thumb pattern on the root of the chord, on beat 1 of each bar) while the index, middle, and ring fingers play together with the thumb on two beats. First, try pinching on beats 2 and 4 along with this video then on your own try placing the pinches on other beats, i.e. 1 and 3, 2 and 3, 1 and 4, or any other combination. Experiment with muting the bass strings on the picking hand as well as dampening and muting the strings on the fretting hand with the techniques described and demonstrated in the video. Muting the strings helps accent and punctuate the pinches, an essential percussive and rhythmic tool you can utilize. After you have the "Double Pinch" pattern down, try some variations over a few different chord progressions.
Between Beats 1 & 2
"Between Beats 1 & 2" is a pattern that will introduce syncopation into the rhythm, which in this case will occur between the first and second beat of the bar. While the thumb continues to play steady quarter notes on the beat, the fingers will play both in-between the beats and on the beat. The index, ring, and middle fingers will remain grouped together as a unit playing in between beat 1 and beat 2 and then pinching together with the thumb on beat 3. You can play the syncopation with straight 8th notes or as swing 8th notes - try both. Also experiment with both left and right hand muting. You may notice that in the performance I completely muted the 4th string on beat 4 which provides a percussive quality to the groove. Finally, try having the strings sustain, using no muting.
Between Beats 3 & 4
"Between Beats 3 & 4" is another great rhythmic pattern that works for accompaniment and can serve as a useful melodic rhythm as well. Here we continue to alternate the thumb while keeping the fingers together as a unit, pinching with the thumb on beat 1, then we add syncopation (fingers by themselves) between beat 3 and beat 4. The progression shown here is a simple blues in E, however you should try to apply this pattern to a few additional progressions to see how it sounds in a different context. Notice how the alternating thumb pattern is slightly modified in bars 6 and 7, on the A#o7 and E7/B respectively. If the chord shape you're playing doesn't allow for alternating thumb on three bass strings, you can always alternate between just two strings - the important concept is to always keep the thumb alternating and do not let it stop!
Melodic Groove
"Melodic Groove" is one of my favorite boom-chick style patterns. It utilizes a lot of syncopation played by index, middle, and ring fingers which makes is great for developing dexterity, coordinating and thumb/finger independence. This pattern was heavily inspired by Merle Travis' son Thom Bresh, especially by his tune "Hangin' with the Girls I Know". Check out Thom's course The Breshman Chronicles on TrueFire, where he plays and teaches his tune. See if you can identify the similarities between this pattern and what he's doing. If you're looking for a great tune to learn after you get this pattern down, Thom's tune would be a good choice! You'll notice the bass is muffled but the melody is smooth and rings out clearly. This pattern works really well with swing 8th notes and using a heavy thumb (i.e. when the thumb plays on beats 2 and 4, it not only plays the 4th string, but also during it's downstroke it will occasionally brush the 3rd string as well).
Green Thumb
"Green Thumb" is the basic rhythmic pattern used in the intro of Tommy Emmanuel's tune "(The Man with the) Green Thumb". The pattern has a great groove and uses a variety of pinches and syncopation. The version I'm teaching here is slightly simplified and uses the left hand thumb over the top of the neck to play the F# on the second fret, sixth string on beat 3. If you can find a video of Tommy playing this tune (there are dozens on YouTube), notice that he also uses his pinky finger to play C# on the fourth fret, fifth string. TE plays the notes with the thumb very "heavy", in such a way that he often brushes two strings with one downstroke of the thumb, which is what allows him to play both F# and C# on beat 3. Additionally, he usually adds syncopation on the up-beat of beat 2, which I demonstrate toward the end of this video as a variation. Try getting this pattern down first and then play it along with Tommy as he plays the intro to "(The Man with the) Green Thumb". Go for feel and a good solid groove!

+ 25 more lessons

Start Course

Reviews

39 results

Bob375

Verified buyer

06/15/26

30 Fingerprinting Patterns

A lot of hard work, but it's worthwhile.

leeofcalifornia

Verified buyer

09/19/25

Review of 30 Fingerpicking Patterns You Must Know

This is a really fun course and a joy to listen to and play. I really liked that right hand fingering - p, i, m, a were given in the score making it much easier and fun to play. Good job!

Neil G.

12/07/24

Very fun

This is an excellent course. Very well delivered and great engaging examples in each lesson. My only niggle is that it would have been good if Brooks had briefly spoken about his fingernails: are they real, are they clip-ons, why have fingernails, why not have fingernails? That kind of discussion is generally missing from finger-picking courses even though it seems really fundamental to me. Just a small niggle, though. Great course! I'd definitely do another course with Brooks.

shoebox5t5

Verified buyer

01/15/23

Picking Dexterity Unmatched

I've enjoyed Brooks Roberson live, in concert, a couple of times. I've wanted to learn his picking skills ever since. This course gives me that opportunity, as he presents the basics to his playing in a manner easily understood.

peterhitchings393

Verified buyer

10/31/22

I am returning to fingerstyle guitar after a long break and focussing mainly on classical guitar technique. This is an excellent guide for building on my prior learning and developing a well- rounded and adaptable fingerstyle technique Pete, Wales UK

Stop searching. Start improving with All Access.

Try 14 days free. Cancel any time.